UST Projector Screen Setup: Cabinet, Screen and Projector Placement
Plan a UST projector and floor-rising screen setup in the right order so cabinet depth, screen case, image height, throw distance and audio all fit.
The cleanest UST installations are planned from the screen plane outward. If you place the projector cabinet first and try to “make the screen fit” later, the throw geometry can force awkward offsets or image heights.
Setup order
- Choose target diagonal. Confirm the wall can physically host the image.
- Measure the exact screen case. Floor-rising cases are wider than the viewable image.
- Check projector throw data. Determine lens-to-screen distance and required image height for that diagonal.
- Set furniture depth and height. Make sure the projector can sit at the correct vertical and horizontal position.
- Plan audio. Decide whether speakers are below, beside or behind the screen.
- Plan power and control. Screen motor and projector both need reliable power; triggers or automation may simplify daily use.
- Level before fine alignment. UST geometry magnifies small physical misalignment.
Using the S Pro P’s lower acoustic border
If you intend to place a center speaker or soundbar behind the perforated lower border, include the speaker’s height and depth before finalizing the screen and projector cabinet position.
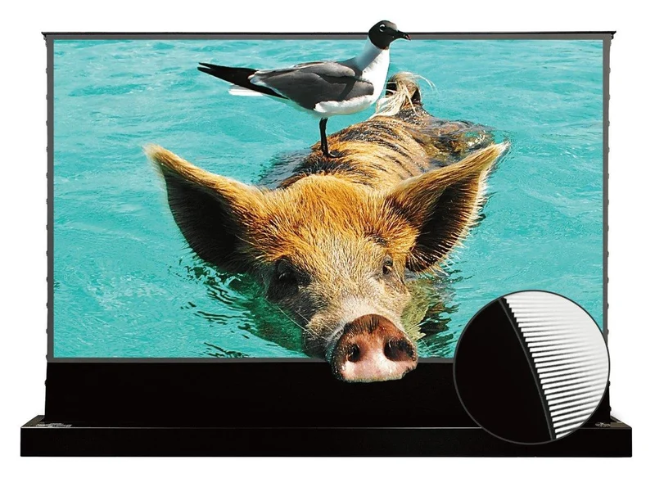
Vividstorm S Pro P
72–120″ options at the linked merchant; 0.6 gain, 170° published viewing angle, floor-rising motorized design and perforated lower border.
Next steps
Use the screen-size guide first if you have not chosen a diagonal, then compare floor-rising ALR screens.